
Bifrost is a fast, Go-based AI gateway. If you are hitting rate limits with your LLM provider and need to pool multiple API keys to increase your throughput, Bifrost provides a native, performant routing engine to handle the load balancing.
However, configuring key pooling on a single Bifrost node is easy; scaling that setup across multiple nodes in production requires careful architectural planning to avoid blowing past your provider quotas.
Here is exactly how to pool API keys in Bifrost, and how to scale that setup safely.
1. Configuring Key Pooling in Bifrost
Bifrost allows you to define multiple API keys for a single provider and assign weights to them. The routing engine will automatically distribute incoming requests across these keys based on their weights and health status.
For a GitOps-friendly, stateless deployment, you configure this using a config.json file mounted to your Bifrost container.
{
  "$schema": "https://www.getbifrost.ai/schema",
  "providers": {
    "openai": {
      "keys": [
        {
          "name": "openai-key-primary",
          "value": "env.OPENAI_API_KEY_1",
          "models": ["gpt-4o", "gpt-4o-mini"],
          "weight": 0.7
        },
        {
          "name": "openai-key-secondary",
          "value": "env.OPENAI_API_KEY_2",
          "models": ["gpt-4o", "gpt-4o-mini"],
          "weight": 0.3
        }
      ]
    }
  }
}
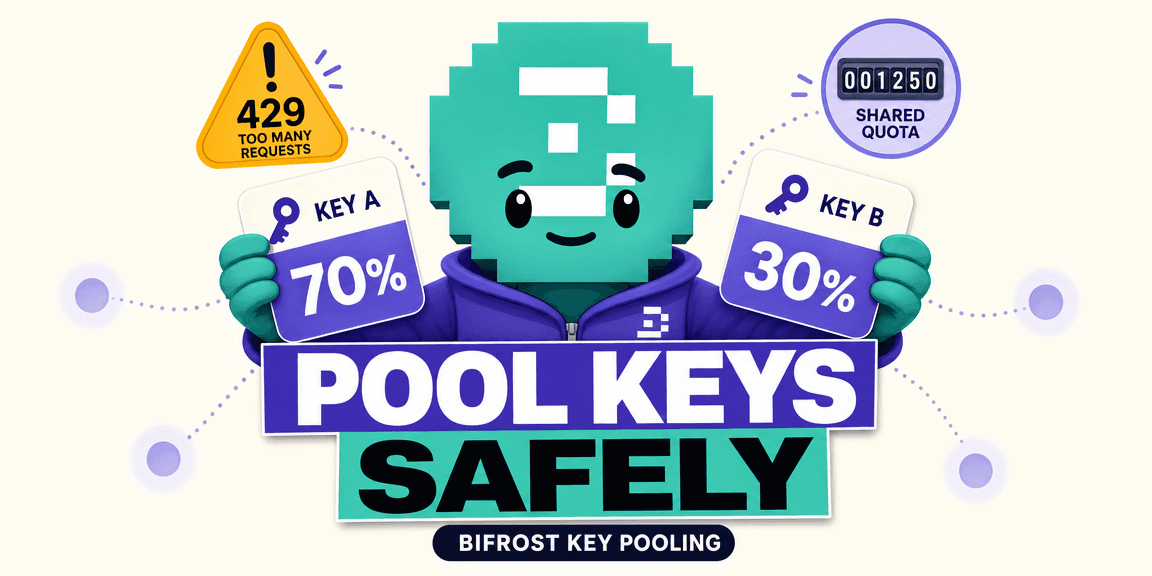
In this configuration, Bifrost acts as a smart router. It will send roughly 70% of traffic to the primary key and 30% to the secondary key. If the primary key receives a 429 Too Many Requests from OpenAI, Bifrost's internal logic will temporarily mark it as degraded and route traffic to the secondary key.
2. Executing the Request
From your application code, you treat Bifrost exactly like the standard OpenAI API. You do not need to build any routing logic into your app.
You simply point your SDK's baseURL to your Bifrost instance and provide a dummy API key (or a Virtual Key if you have governance enabled).
import OpenAI from 'openai';

const client = new OpenAI({
  apiKey: "vk-my-bifrost-key", // The gateway authenticates this
  baseURL: "http://localhost:8080/v1" // Pointing to Bifrost
});

const response = await client.chat.completions.create({
  model: "openai/gpt-4o",
  messages: [{ role: "user", content: "Analyze this dataset..." }]
});
Bifrost intercepts this request, selects the appropriate physical API key based on the weights in config.json, attaches it to the headers, and proxies the request to OpenAI.
3. The Multi-Node Scaling Trap
This setup works for a single, massive Bifrost node. The problem arises when you need high availability and scale to multiple instances behind a load balancer.
In open-source (OSS) Bifrost, each node acts as an independent decision engine.
- Node A loads the
config.jsonand tracks the TPM/RPM usage ofopenai-key-primaryin its local memory. - Node B loads the same
config.jsonand tracks its own local usage.
Because OSS Bifrost does not synchronize runtime state (like live rate limits or token buckets) across nodes in real-time, Node A has no idea how many tokens Node B just sent to OpenAI. Under heavy concurrent traffic, the nodes will collectively overshoot the physical provider limits, resulting in upstream 429 errors and dropped requests.
(Note: Bifrost offers a paid Enterprise tier that uses a modified RAFT consensus protocol to synchronize this state, but we are focusing on the OSS architecture here).
4. How to Actually Scale It: Externalize the Control Plane
If you want to use OSS Bifrost across multiple nodes without overshooting limits, you must adopt the 3-layer architecture. You must strip the "smart" quota enforcement out of Bifrost and externalize it to a globally coordinated Control Plane.
In this architecture, Bifrost is purely a Routing & Execution Engine. It picks the key and makes the network call.
To enforce global rate limits, you place a dedicated quota system (like OpenMeter or a Kong API Gateway with Redis-backed rate limiting) in front of Bifrost.
The Workflow:
- Your app sends a request to the Kong/Redis layer.
- The Control Plane checks Redis: Does this user/team have enough global TPM capacity across our entire infrastructure?
- If yes, it decrements the global counter and forwards the request to the Bifrost load balancer.
- Bifrost receives the request, uses its internal weights to pick a physical API key, and executes the call.
By splitting global quota enforcement into Redis and physical key routing into Bifrost, you get Bifrost's fast Go proxy performance while keeping your rate limits sound across any number of nodes.
In our next post, we will look at how LiteLLM handles this exact problem, as it takes a different approach by bundling Redis directly into its open-source proxy tier.
Read more

Architecting Reliable Mobile Billing
A real-world look at fixing mobile subscription billing when webhooks, sandbox purchases, and user identity break down.

OAuth vs OIDC: Access Tokens vs ID Tokens
A practical explanation of OAuth, OIDC, access tokens, and ID tokens without the usual authentication confusion.

How Mobile Apps Work
The three ways to build a mobile app, what each one actually runs under the hood, and the shared architecture pattern behind React Native, Flutter, and Tauri mobile.